▶SpringBoot应用部署 - 打包成jar部署
约 775 字大约 3 分钟
▶SpringBoot应用部署 - 打包成jar部署
我们知道spring-boot-starter-web默认已经集成了web容器(tomcat),在部署前只需要将项目打包成jar即可。那么怎么将springboot web项目打包成jar呢?本文主要介绍常见的几种方式。@pdai
概述
我们知道spring-boot-starter-web默认已经集成了web容器(tomcat),在部署前只需要将项目打包成jar即可。那么怎么将springboot web项目打包成jar呢?
打包成jar
这里以一个Helloworld项目(SpringBoot入门 - 创建第一个Hello world工程 )为例打包成jar。
通过Maven打包成jar
通过Maven打包成jar,最为常用,因为可以脚本化,这是所有自动化部署的前提。
首先, 在pom中使用SpringBoot的build插件
    <build>
        <plugins>
            <plugin>
                <groupId>org.springframework.boot</groupId>
                <artifactId>spring-boot-maven-plugin</artifactId>
            </plugin>
        </plugins>
    </build>
然后通过如下步骤进行build

通过Idea打包成jar
此外一些IDE工具也集成了打包的功能,我们看下如下通过idea打包成jar。
- File栏选择Project Structure

- 在Artifacts下添加jar

- 选择module,main class等

- 确认编译后的jar输出位置

- 进行build
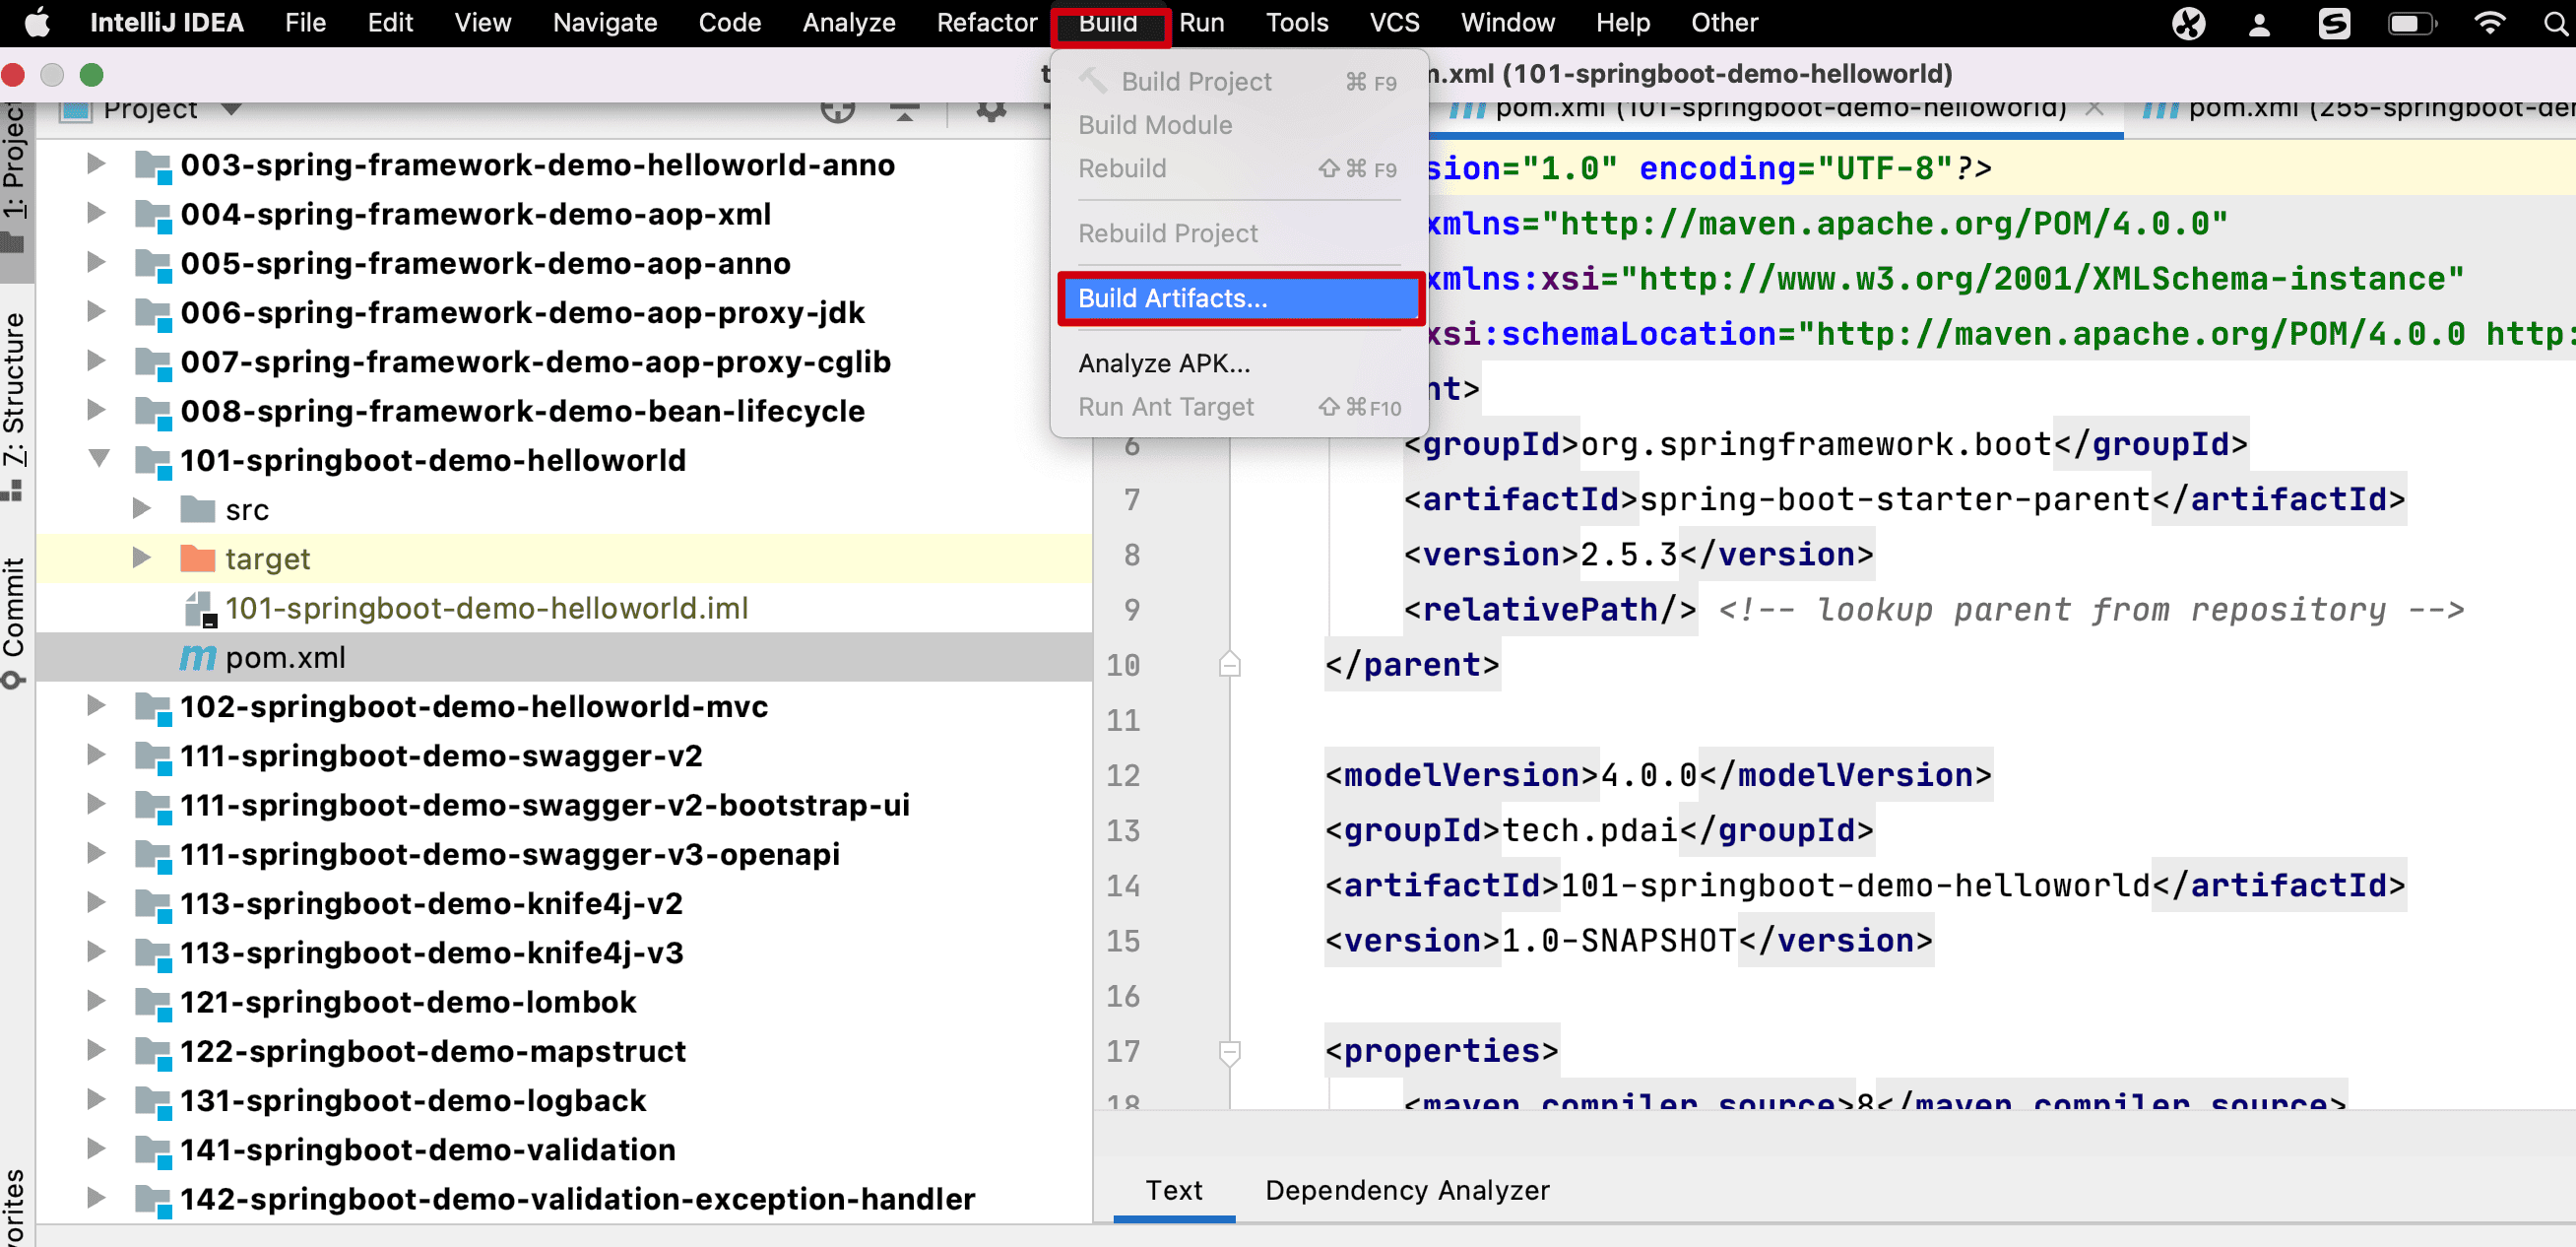 点击build/rebuild

- 编译后的jar

进一步理解
通过几个问题进一步理解。
如何将三方jar打包进来?
在项目中我们经常需要使用第三方的Jar,比如某些SDK,这些SDK没有直接发布到公开的maven仓库中,这种情况下如何使用这些三方JAR呢?
请参看:SpringBoot应用部署 - 使用第三方JAR包