VMware17安装CentOS Linux
约 588 字大约 2 分钟
VMware17安装CentOS Linux
WM17安装参考
CentOS Linux下载安装包
官网下载 https://www.centos.org/download/
选择X86

选择一个镜像下载即可
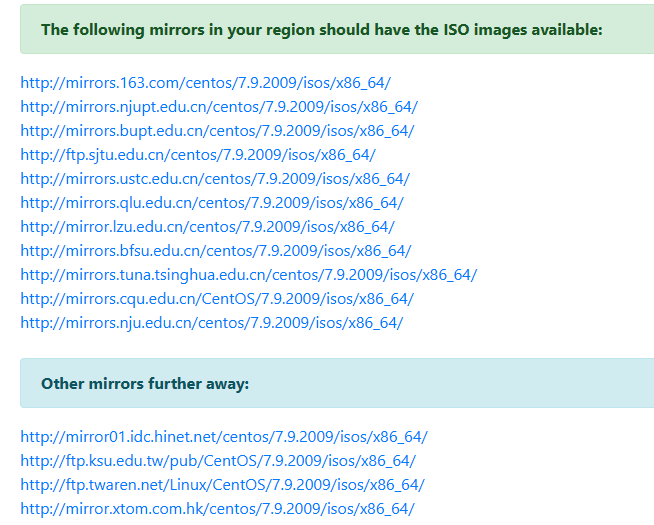
下载后的iso文件保存到本地,接下来创建虚拟机会使用到
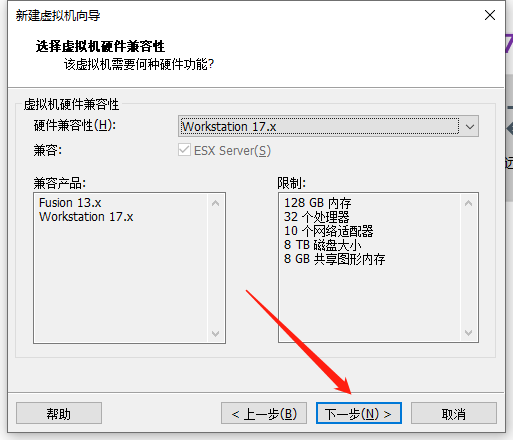
创建虚拟机
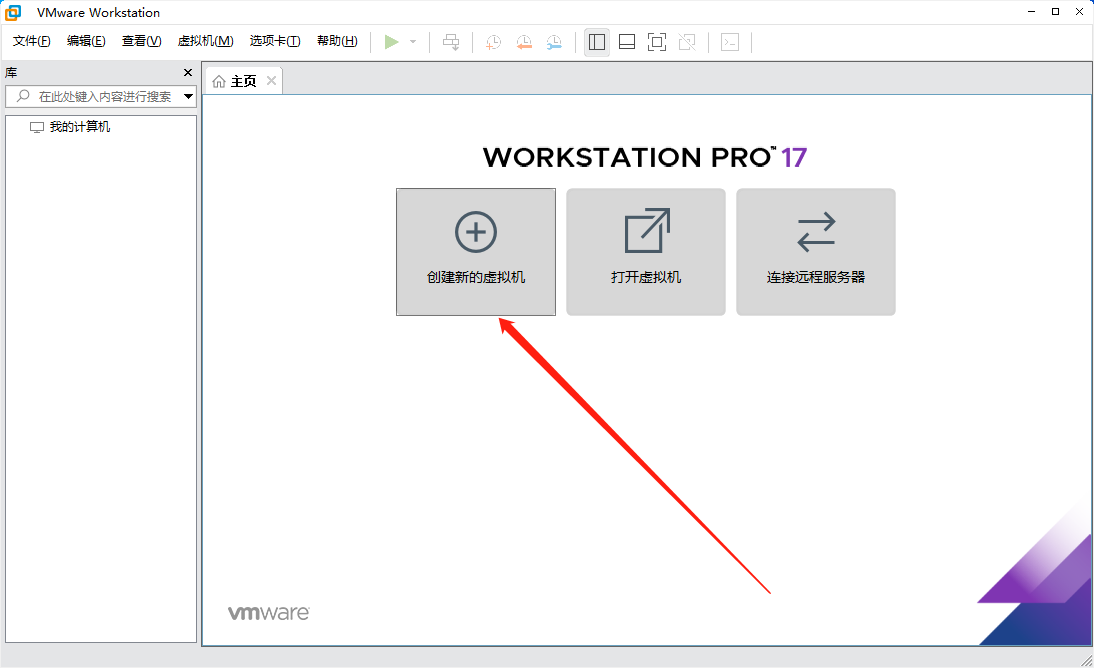
直接下一步就好
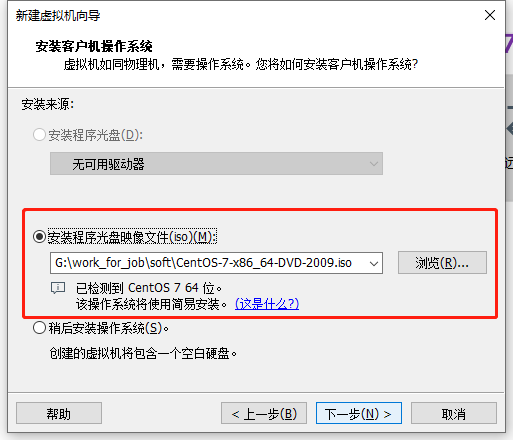
选择iso文件
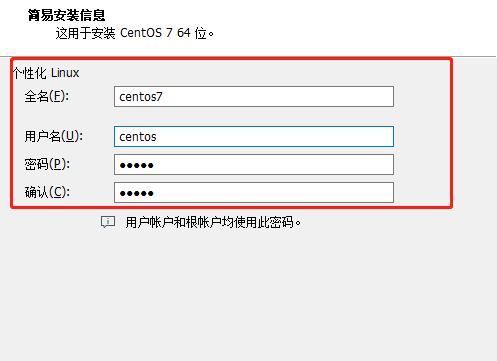
设置系统用户名/密码
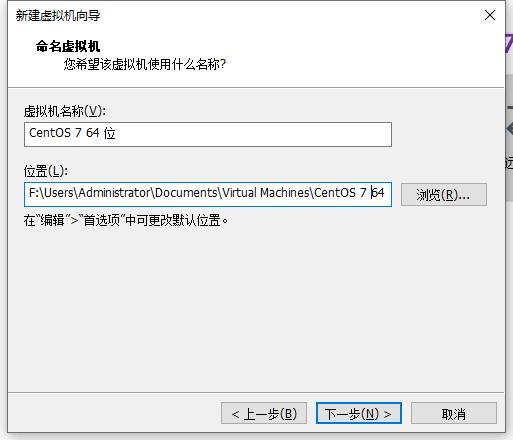
设置安装位置
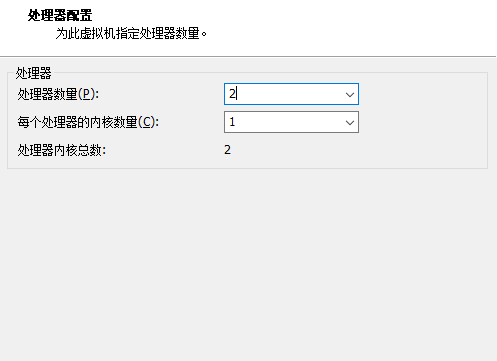
配置处理器
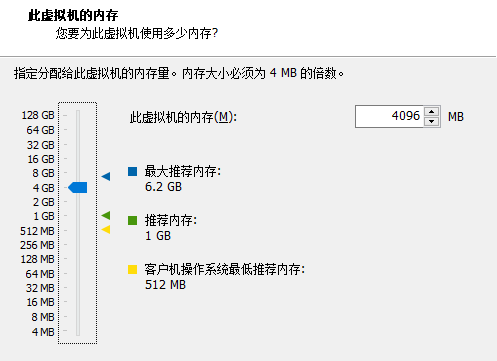
配置内存
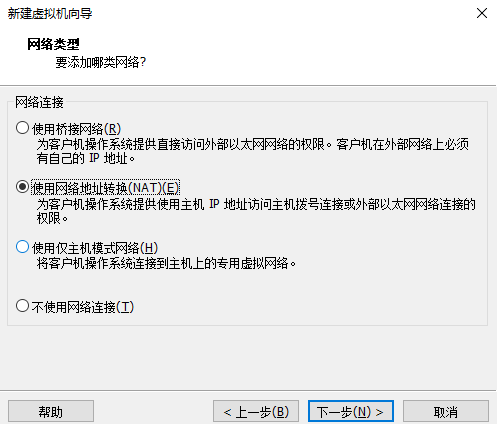
配置网络
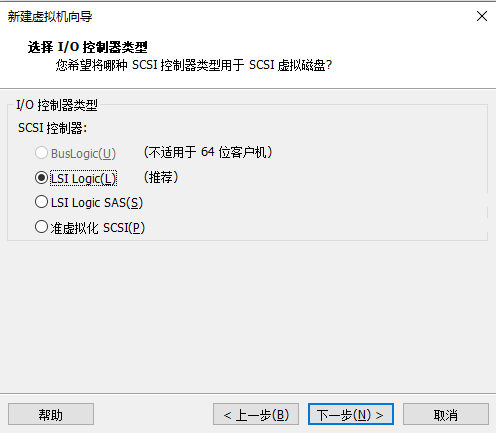
配置IO
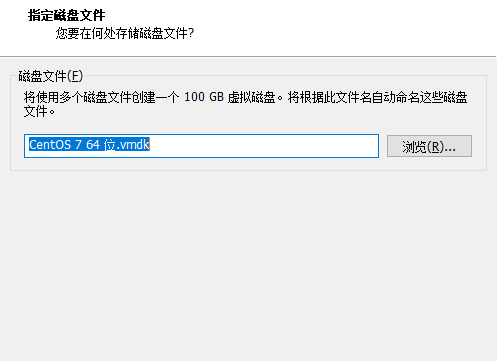
配置磁盘


配置完成
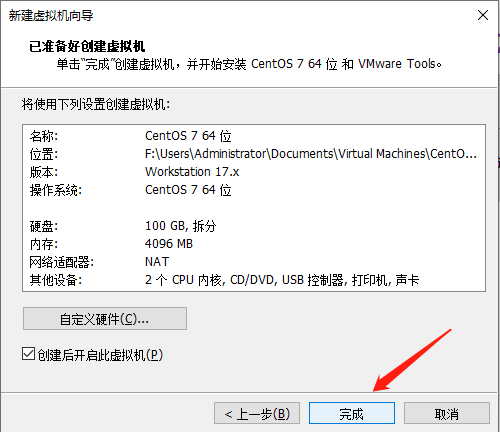
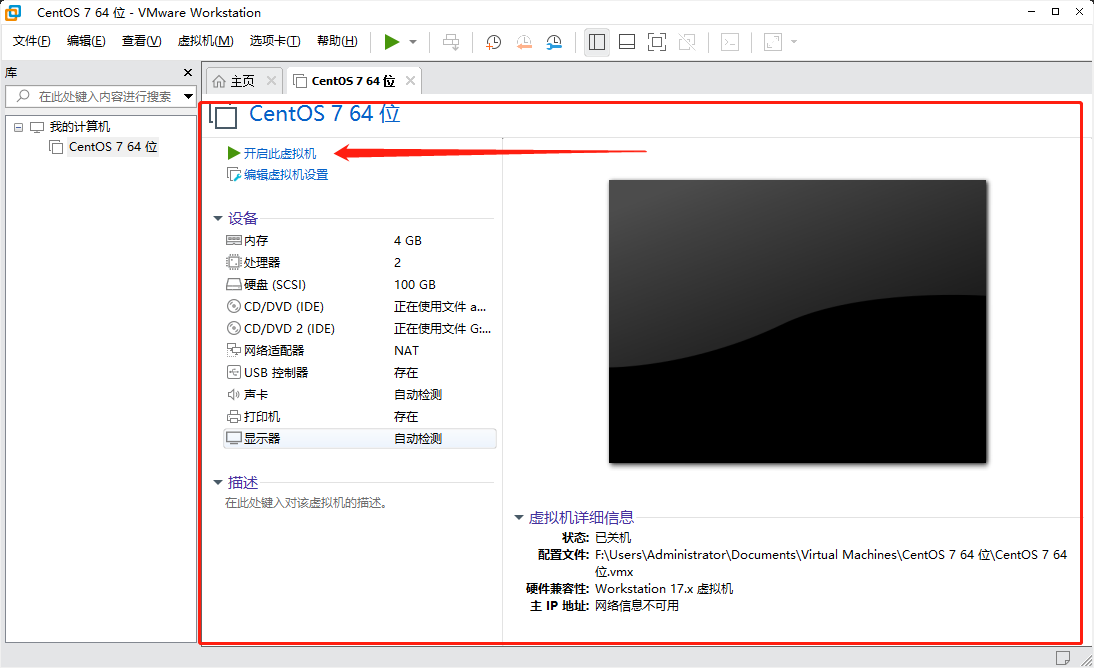
开启虚拟机
如果遇到如下错误
此主机支持 Intel VT-x,但 Intel VT-x 处于禁用状态。
如果已在 BIOS/固件设置中禁用 Intel VT-x,或主机自更改此设置后从未重新启动,则 Intel VT-x 可能被禁用。
(1) 确认 BIOS/固件设置中启用了 Intel VT-x 并禁用了“可信执行”。
(2) 如果这两项 BIOS/固件设置有一项已更改,请重新启动主机。
(3) 如果您在安装 VMware Workstation 之后从未重新启动主机,请重新启动。
(4) 将主机的 BIOS/固件更新至最新版本。
此主机不支持“Intel EPT”硬件辅助的 MMU 虚拟化。
VMware Workstation 在此主机上不支持用户级别监控。
模块“MonitorMode”启动失败。
未能启动虚拟机。

解决方案可以参考:https://www.xitongcheng.com/jiaocheng/xtazjc_article_38955.html
英特尔CPU的设置方法:进入BIOS后,找到“BIOSfeatures‘-Intel virtual technology”和“VT-d"选项,把”disabled“都修改为”enabled“。然后按F10保存退出即可;
AMDCPU的设置方法:进入BIOS后,找到“M.I.T”-“advanced frequency settings”-“advanced cpu core settings”-“SVM”选项。把”disabled“都修改为”enabled“。然后按F10保存退出即可;
下面以AMD450主板开启VT的方法作为演示:
我们进入到BIOS,点开第一行英文。
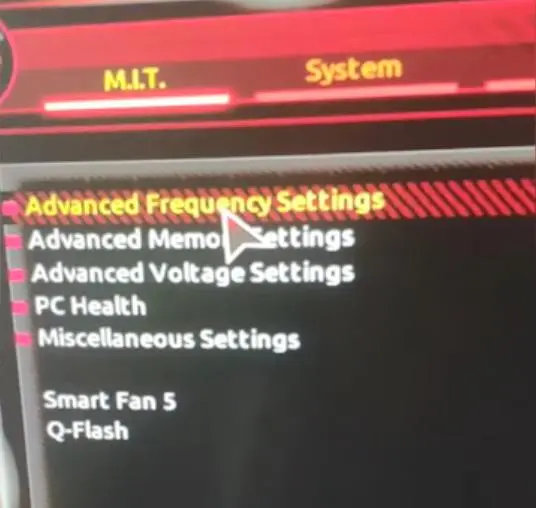
这个可能在不同的BIOS里边,不太一样,还是需要你自己去找的,找重要的一些英文单词,比如有CPU字样的。

因为它设置的是CPU的虚拟化技术,之后找SVM选项。
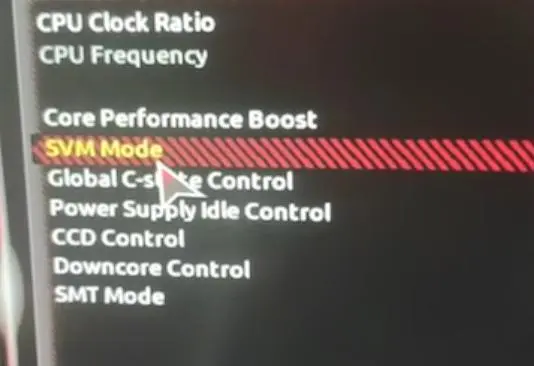
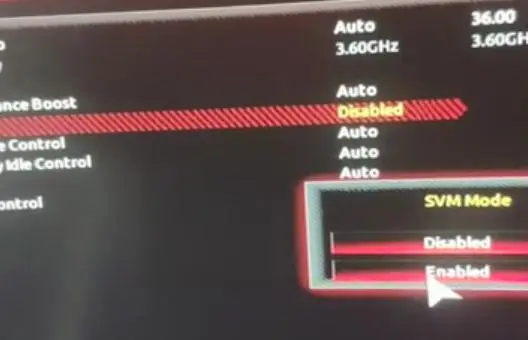
保存退出就可以了。
再次启动虚机即可
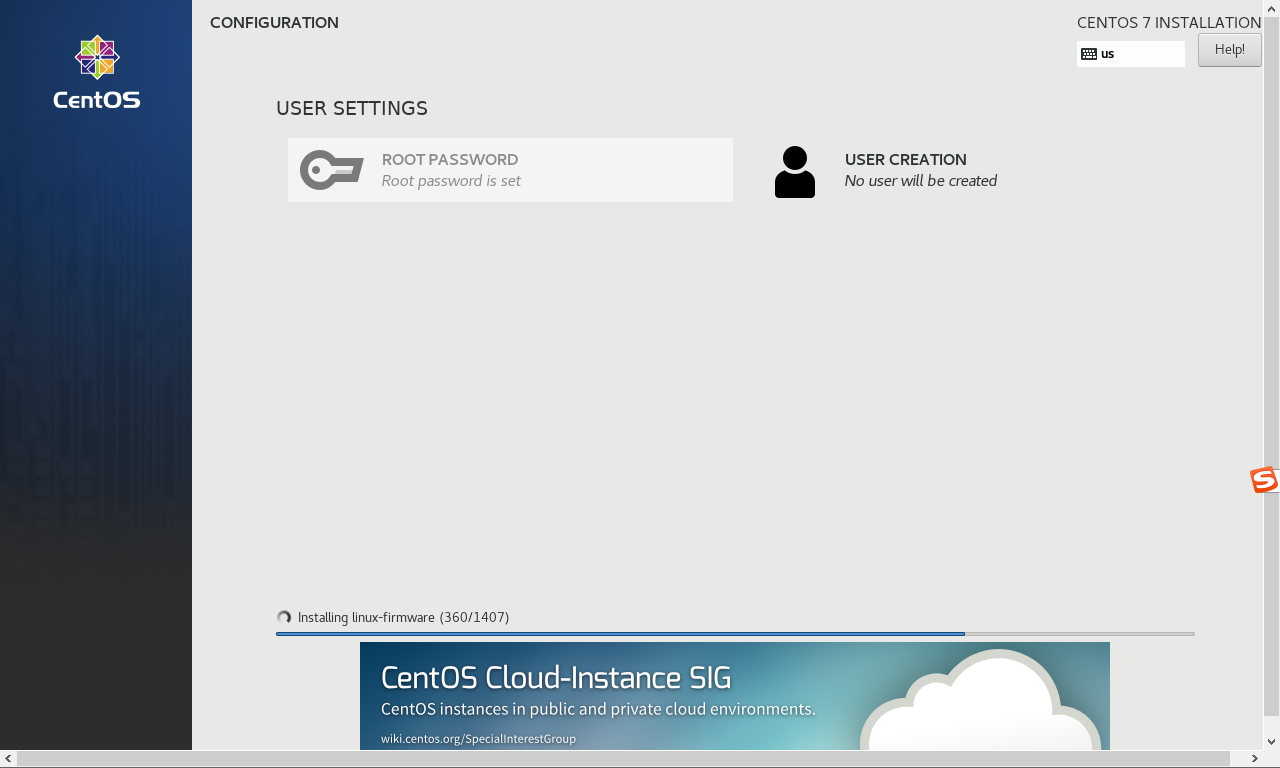
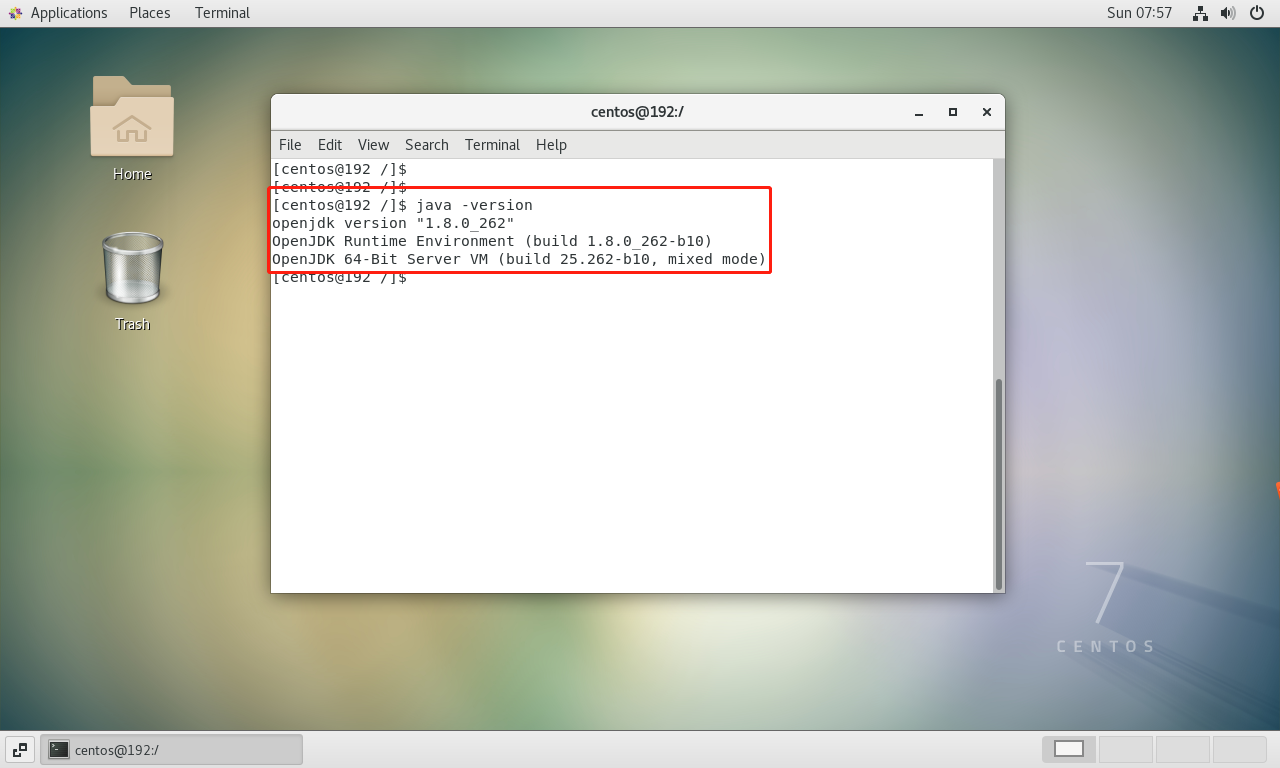
安装完成后输入密码解锁

默认安装了openjdk8